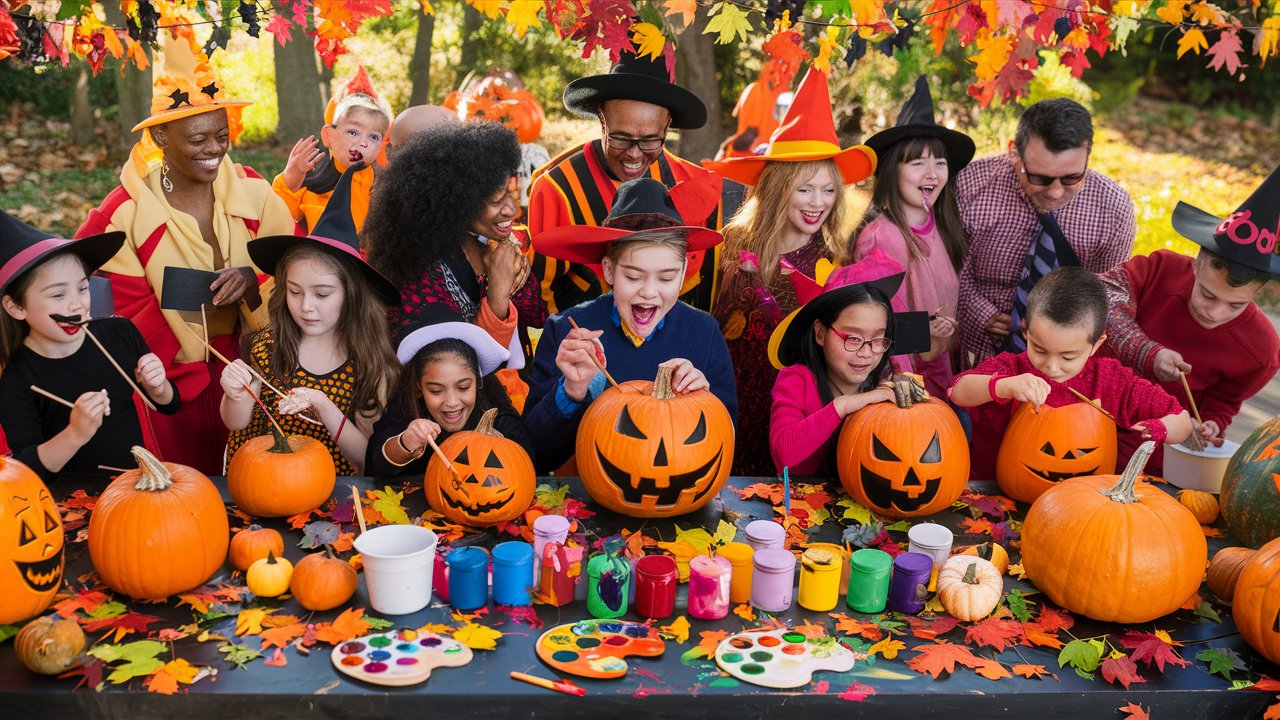
As Halloween approaches, one of my favorite activities is getting together with friends and family to paint pumpkins. It’s a fun way to show off our creativity and make our homes look festive. Whether you’re an experienced artist or a beginner, painting pumpkins is a great way to get into the Halloween spirit. Plus, it’s an activity everyone can enjoy, from little kids to adults!
Thank you for reading this post, don't forget to subscribe!
Why Paint Pumpkins?
You might wonder, why paint pumpkins instead of carving them? Well, painting offers a lot of advantages! First, it’s safer, especially for little ones who might struggle with sharp tools. With paint, there’s no risk of cutting yourself or getting hurt. Second, painted pumpkins last longer than carved ones. Carved pumpkins can rot quickly, but painted ones can keep their beauty for weeks! Lastly, painting lets you express your creativity in unique ways. You can use all sorts of colors and designs, from classic jack-o’-lantern faces to intricate patterns.
Gather Your Supplies
Before we get started, let’s gather everything we need. Here’s a list of supplies you’ll want to have:
- Pumpkins: Choose different sizes and shapes for variety. Mini pumpkins are perfect for smaller designs!
- Paint: Acrylic paint works best because it’s bright and easy to clean up. You can find it at any craft store or online.
- Brushes: Get a variety of brushes, from large flat ones for big areas to small detail brushes for intricate designs.
- Palette: Use a paper plate or a palette for mixing colors.
- Water and Rags: Keep a cup of water nearby for rinsing brushes and some rags for quick cleanups.
- Sealant: Optional, but if you want your pumpkins to last even longer, spray them with a clear sealant when you’re done.
Get Inspired!
Now that we have our supplies, it’s time to get inspired! Here are some fun ideas for pumpkin designs:
- Classic Jack-o’-Lantern: You can’t go wrong with a traditional face. Use black paint for the eyes and mouth, and let your imagination run wild with funny or spooky expressions!
- Galaxy Pumpkins: Use dark blue and purple paints to create a galaxy effect. Start with a dark base and sponge on lighter colors to mimic stars and planets.
- Animal Faces: Paint your pumpkin to look like your favorite animal! Whether it’s a cute cat, a silly dog, or even a fierce lion, this is a fun way to show off your artistic skills.
- Patterned Pumpkins: Use painter’s tape to create stripes or chevron patterns. You can paint over the tape, let it dry, and then peel it off for a clean design.
- Nature Scenes: Paint a beautiful landscape, like a sunset over a spooky graveyard or a forest full of colorful trees. These scenes can be as detailed or simple as you want!
Let’s Paint!
Once you’ve chosen your design, it’s time to paint! Set up your pumpkins on a table covered with newspaper or a plastic tablecloth to catch any spills. I like to start with the base color and let it dry before adding details. Remember to have fun! If you make a mistake, it’s okay—just paint over it. The more you practice, the better you’ll get.
Display Your Creations
After you finish painting, find a special spot to show off your pumpkins. You can place them on your porch, in your living room, or even give them as gifts to friends and family. Everyone will love seeing your colorful creations!
Join the Fun!
Hosting a pumpkin painting party can also be a fantastic way to celebrate Halloween with friends. Invite people over, provide snacks, and let everyone unleash their creativity. You can even have a friendly competition to see who can create the best design!
So, gather your supplies, get your friends and family involved, and have a pumpkin painting party this Halloween. It’s a great way to bond, be creative, and make your home shine with festive decorations!
